Four ways to create captions for your videos
Captions are a great addition to your videos because they allow people to understand your videos better. And there can be lots of cases why this is, for example, those with hearing impairments, those who speak multiple languages, have learning difficulties, etc.
It can even be helpful for those without speakers or earphones. There have been many times for me when I wanted to watch a video but I didn’t have my headphones.
But above all else, most importantly, on the list of criteria from WCAG 2.0, you must provide an alternative format for all pre-recorded content. In most cases, captions or/and a transcript will satisfy this requirement.
But how do we make these captions and transcripts? The classic way is to simply play your media and type it out. However, you must format it in a very particular way so that it is timed to your media and this can take a very long time. There are much better methods to doing this now which is enhanced by speech-to-text tools. In this tutorial I will show you four different tools, both free and paid that will show you how to easily make captions and transcripts.
- YouTube
- OneDrive for Business
- Premier Pro
- Otter.ai
Youtube
One of the most common and free methods is to use Google’s speech-to-text via a free YouTube account. Doing this is very straightforward.
- Create your Google account if you don’t already have one
- Upload a video using the upload menu
- Wait for the captions to generate
You can then proofread your captions using either the YouTube caption editor or by downloading the captions file and editing locally on your computer. We will look at the local editing later in this tutorial.

OneDrive for Business
The next three methods are all paid services and I would like to make you aware that I am not sponsored in any way by any of these services or companies.
A really useful feature of OneDrive for Business is the ability to quickly generate a transcript for any video that you upload to OneDrive/SharePoint. Please note that this is not a feature of the consumer version of OneDrive which is a major pity.
All you have to do is upload your video and choose the create transcript button. Choose your language and it shouldn’t take too long. OneDrive makes it super easy to edit the captions and also download the captions file if you’d prefer to proofread offline.


Premiere Pro
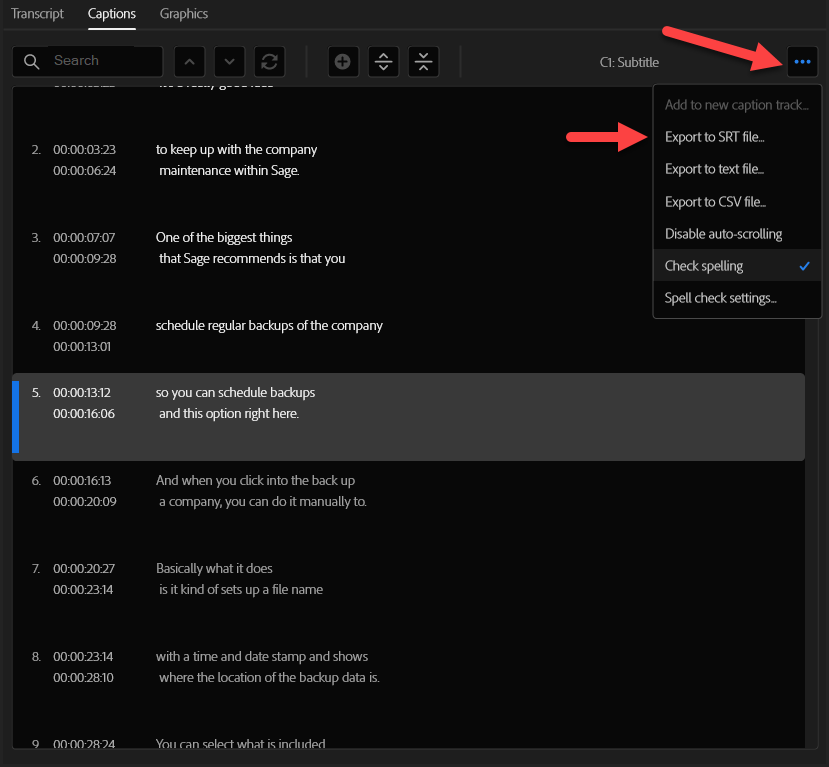
For many of you who are instructional designers or media creators. Chances are that you may use Adobe Premiere Pro to create and edit videos. Of course, I recognise that Premier Pro isn’t the only linear video editing app on the market so maybe this new feature will tempt you. In a recent version of Premier Pro, Adobe added a very useful cloud-based speech-to-text service which allows you to transcribe video or audio on your timeline.
All you need to do is open the text window via the window menu. Click on create captions and wait for the magic to happen. Proofreading the script in Premiere Pro is very easy and then you can export caption or transcription files.
Adobe, please bring this feature to Adobe Audition!

Otter.ai
Otter.ai is a website service which is focused on transcribing audio-based meetings. However, it excels at transcribing audio or video files. It has a fantastic editor for making changes as well as the ability to control the playback rate for faster proofreading.
Simply upload your audio and wait a few minutes for the transcription to complete. From there you can proofread your captions and export them to an SRT file. For transcriptions, you can either export it to a document file or just copy and paste it into your word editor of choice.
Some notable frustrations about otter you should be aware of include:
- Poor playback quality of imported audio
- If you have many caption files to export, you must be on a higher-paid subscription to do this
- It lacks the ability to sort files by name/modified date/etc.

Proofreading
So, I have mentioned four automated transcription services. However, our work does not end there. To meet the WCAG requirements, your alternative format should not deviate from the pre-recorded media. I.E, it should be proofread so that it is 100% accurate. I would also recommend fixing any grammar and punctuation errors because these automated tools simply cannot do this all the time (Otter is actually very good with punctuation).
Every service talked about has its own editing tool for proofing these captions. However, you can also download your captions file and edit the file in a plain text editor such as notepad. I do not recommend bringing it into MS Word or Apple Pages because you want to edit in an editor with no formatting.
Conclusion
So to conclude things, I would recommend that if you work with a lot of video or audio then going for a paid service is worthwhile. I personally recommend otter as it isn’t too expensive and you can do everything with a web browser without having to download an app. There is a free plan for Otter that you can try. If you only do a light amount of media production then something like YouTube is perfect as it’s free, accurate and fast.
Glossary
Here are some definitions for terms talked about in this article
- Captions – Text that typically appears underneath a video or audio file which contains text which is synchronised to the timeline.
- Transcript – A document containing the spoken dialogue in a video or audio file. These are useful for many people as a document can be spoken aloud, translated, resized, etc.
- WCAG – Web Content Accessibility Guidelines. A set of guidelines published by the Web Accessibility Initiative of the World Wide Web Consortium.
- VTT – Video Text Tracks. A popular format for captions/subtitles
- SRT – SubRip file format. Another very popular format for captions/subtitles